OpBuddy
Back to Knee Joint School
Module 3 · Early Recovery

Your first six weeks of recovery

A calm, step-by-step rehabilitation companion for the first six weeks after knee replacement. Track your milestones, learn the exercises and understand what to expect — with confidence.

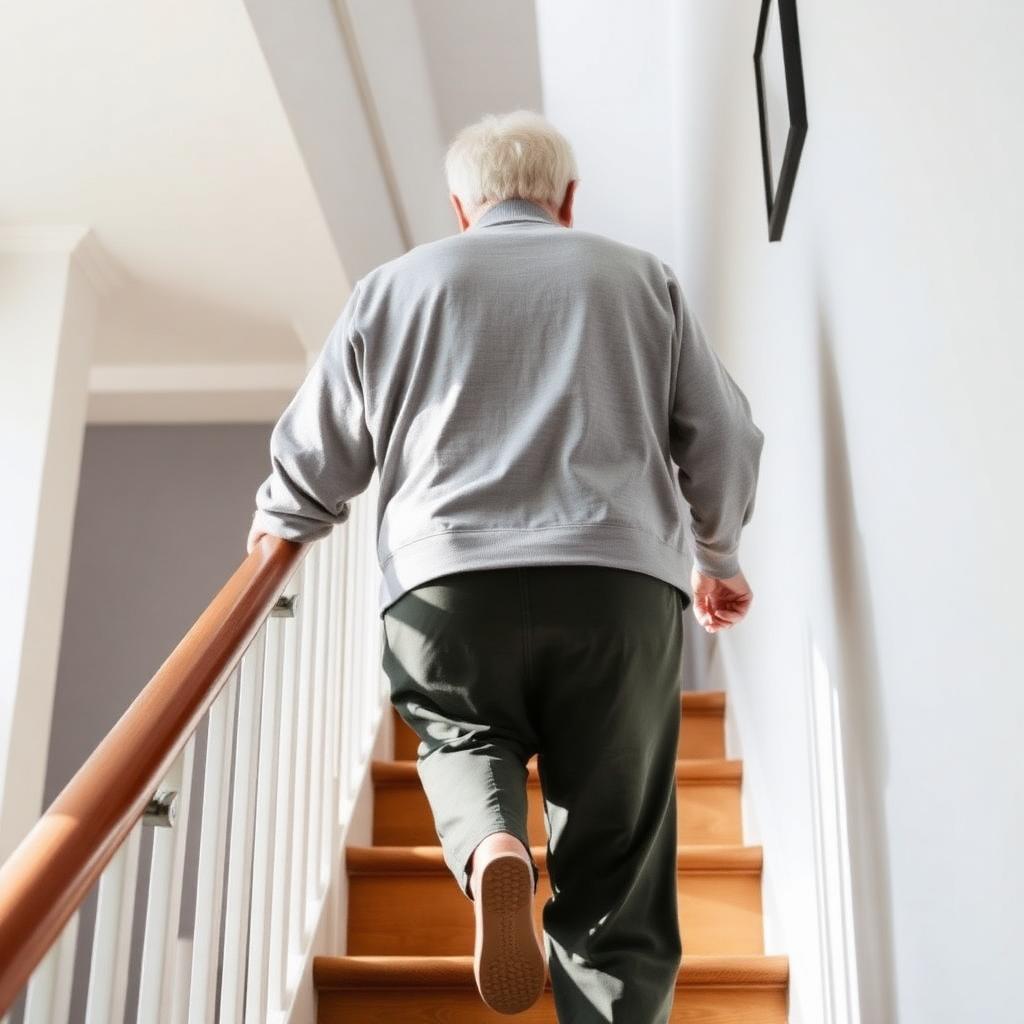
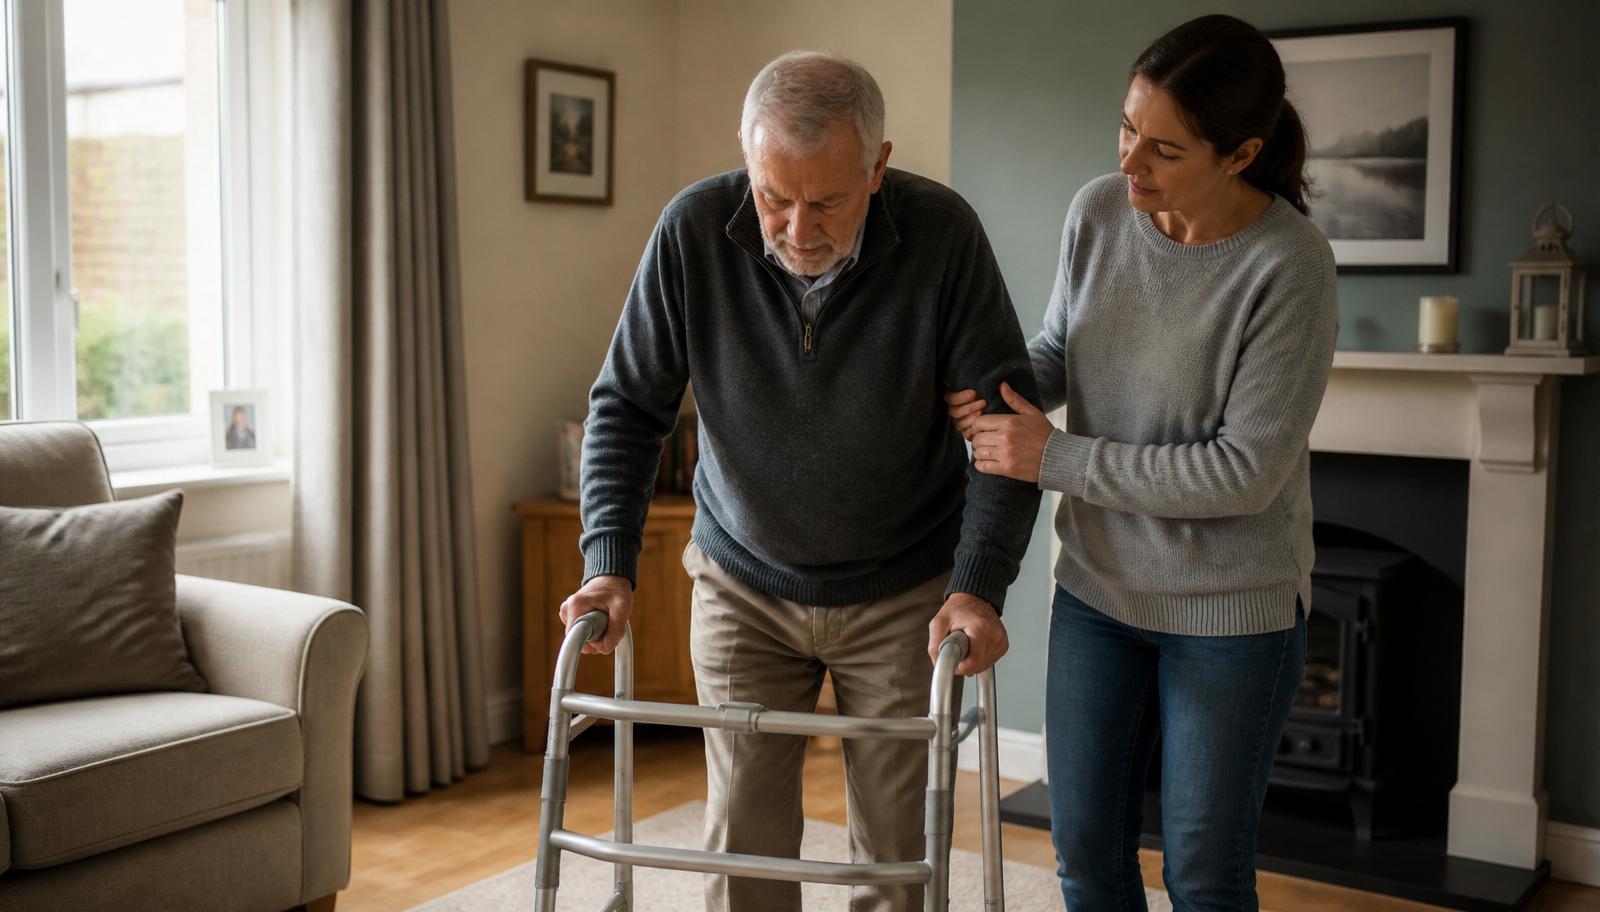
Older patient walking safely at home during early recovery
Recovery Timeline

Your six-week roadmap

Broad milestones, not deadlines. Some people recover faster and others need longer — that is normal.

  1. 1
    Weeks 0–2
    Settling in at home
    Milestones this stage
    • Managing pain and nausea
    • Beginning ankle and knee exercises
    • Standing and walking with help
    • Eating, drinking and toilet safely
  2. 2
    Weeks 2–3
    Building confidence
    Milestones this stage
    • Increasing confidence indoors
    • Gradually extending walking
    • Wound review as advised
    • Improving knee bending and straightening
  3. 3
    Weeks 4–6
    Regaining independence
    Milestones this stage
    • Building strength and stamina
    • Progressing exercises under physio advice
    • Discussing driving and work
    • Managing residual stiffness and swelling
Range of Motion

Maximising your knee movement

Most of the knee movement you will regain happens in the first few weeks. Understanding this helps you focus your effort where it counts.

Range of motion over time

0%20%40%60%80%100%% of finalknee flexion80%95%100%Surgery6 weeks3 monthsFinal
80%

of knee flexion is usually gained within the first 6 weeks

15%

is typically gained between 6 weeks and 3 months

5%

is usually gained after 3 months

The first six weeks are the most important period for improving knee movement. Regular exercises performed little and often usually produce better results than occasional intense sessions.

Elderly man sitting on a chair gently bending his knee
Key principle

Finding the right balance

  • Improving your knee bending is important.
  • However, excessive activity can increase swelling.
  • Swelling itself can reduce knee movement.
  • In the first week, aim for a balance between gentle walking, regular exercises, adequate rest, elevation and ice (where advised).
  • Increasing swelling after activity may be a sign to reduce activity temporarily.
Exercise Library

Your daily exercise programme

Follow the exercises given by your own physiotherapist. The programme below is a commonly used set — reps, holds and progression may differ for you.

Deep breathing
1

Deep breathing

Why: Encourages full lung expansion after anaesthesia and periods of reduced activity.

  1. 1.Sit upright.
  2. 2.Place your hands on the sides of your lower ribs.
  3. 3.Breathe in gently through your nose.
  4. 4.Breathe out slowly through your mouth.
Repeat 3 times every 30 minutes
Tip: Direct the breath towards your hands to expand the lower ribs.
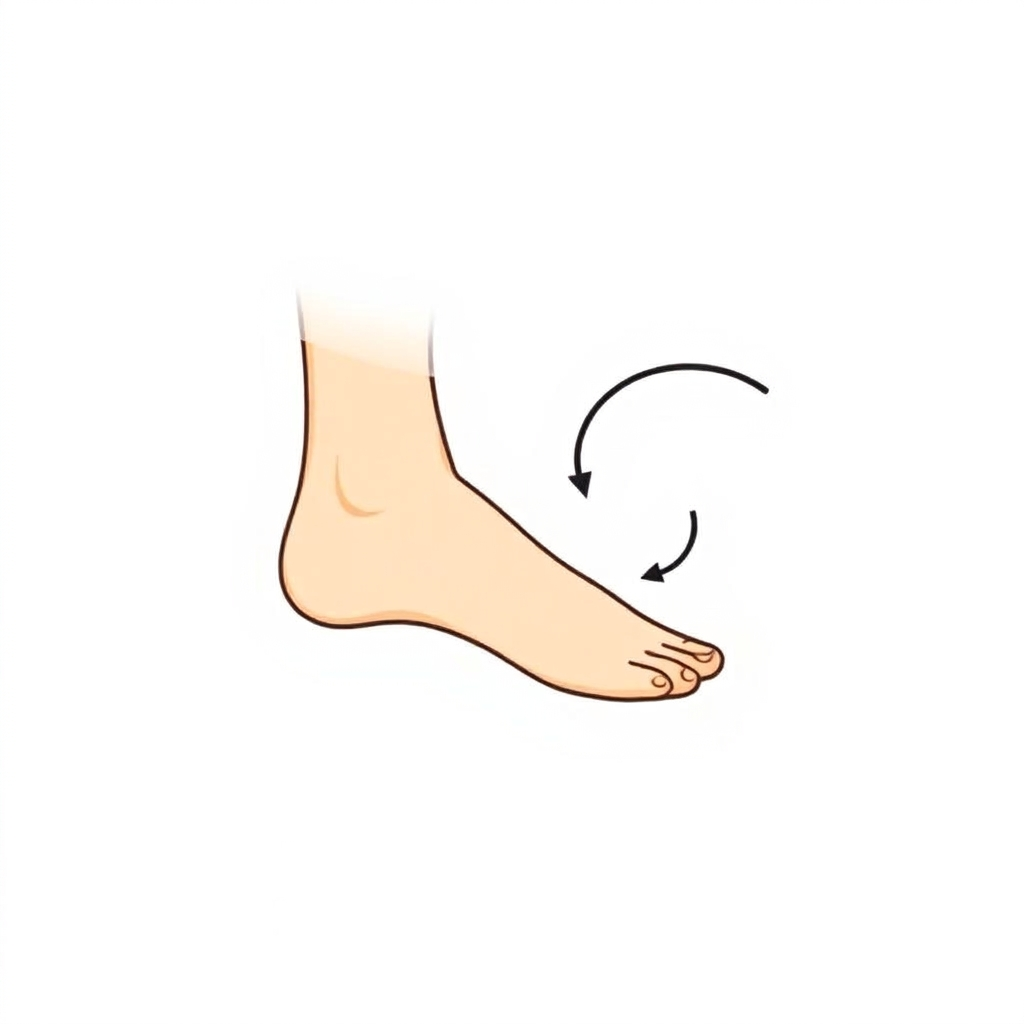
Ankle pumps
2

Ankle pumps

Why: Supports circulation and helps reduce lower-leg swelling.

  1. 1.Lie on your back with your legs straight.
  2. 2.Bend your ankles up towards you.
  3. 3.Then point your toes away.
Repeat 10 times every 30 minutes
Tip: Keep the movement smooth and rhythmical.
Static quadriceps
3

Static quadriceps

Why: Reactivates the thigh muscles and helps knee straightening.

  1. 1.Lie on your back with your legs straight.
  2. 2.Tighten the muscle at the front of your thigh.
  3. 3.Push the back of your knee down into the bed.
Repeat 10 times Hold for 5 seconds
Static gluteal sets
4

Static gluteal sets

Why: Reactivates the buttock muscles which support the hip and knee.

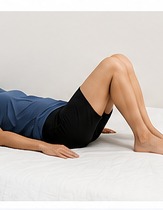
  1. 1.Lie on your back with your knees bent.
  2. 2.Squeeze your buttocks together firmly.
Repeat 10 times Hold for 5 seconds
Heel slides
5

Heel slides

Why: Restores knee bending (flexion) in a gentle, supported way.

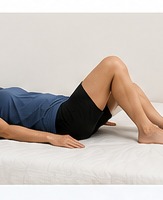
  1. 1.Lie on your back.
  2. 2.Slide your heel towards your buttocks by bending your knee.
  3. 3.Slide back down.
Repeat 10 times
Assisted knee flexion (lying)
6

Assisted knee flexion (lying)

Why: Uses a towel to gently increase knee bending.

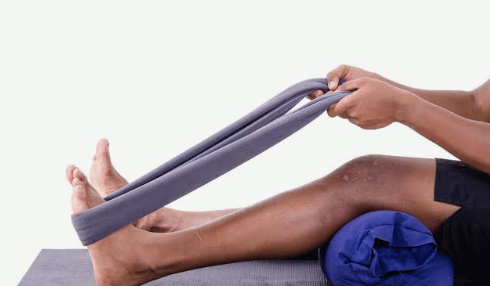
  1. 1.Lie on your back.
  2. 2.Loop a towel around your foot.
  3. 3.Gently pull the towel to bend your knee.
Repeat 10 times Hold for 5 seconds
Assisted knee flexion (sitting)
7

Assisted knee flexion (sitting)

Why: Progresses knee bending in a functional, upright position.

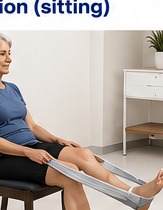
  1. 1.Sit on a chair.
  2. 2.Loop a towel or belt around your foot.
  3. 3.Gently pull the towel to bend your knee.
Repeat 10 times Hold for 5 seconds
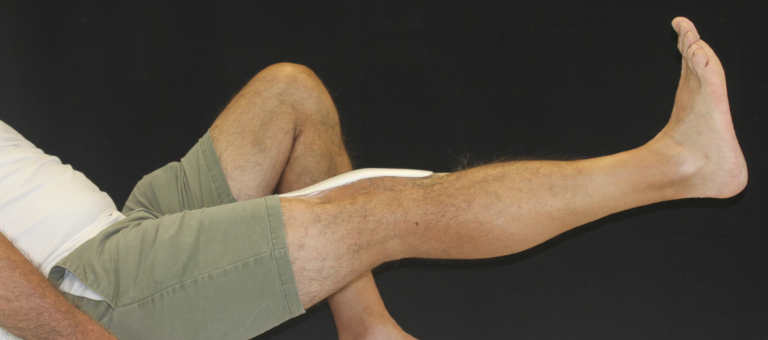
Straight leg raise (SLR)
8

Straight leg raise (SLR)

Why: Rebuilds thigh strength and knee control.

  1. 1.Lie on your back.
  2. 2.Bend your unoperated knee.
  3. 3.Tighten the thigh on the operated leg.
  4. 4.Lift your leg about 20 cm off the bed.
Repeat 10 times Hold for 5 seconds
Tip: Do not worry if this is difficult at first — quadriceps weakness is normal in the early days.
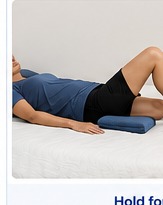
Inner range quadriceps
9

Inner range quadriceps

Why: Improves the last few degrees of knee straightening.

  1. 1.Lie on your back with a cushion under your knee.
  2. 2.Tighten your thigh and straighten your knee.
  3. 3.Slowly lower back down.
Repeat 10 times Hold for 5 seconds
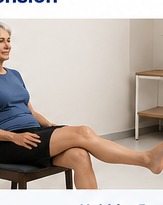
Seated knee extension
10

Seated knee extension

Why: Strengthens the thigh through the sitting range.

  1. 1.Sit on a chair.
  2. 2.Straighten your operated knee by lifting your foot up.
  3. 3.Slowly lower your leg.
Repeat 10 times Hold for 5 seconds
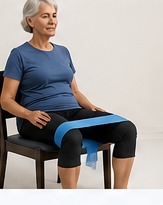
Resisted abduction
11

Resisted abduction

Why: Strengthens the hip muscles that stabilise the knee when walking.

  1. 1.Sit on a chair with a band around your thighs.
  2. 2.Gently push your knees out against the band.
Repeat 10 times
Patella mobilisation
12

Patella mobilisation

Why: Keeps the kneecap moving freely as swelling settles.

  1. 1.Sit or lie with your leg straight.
  2. 2.Gently push your kneecap towards the opposite side.
Repeat 5 times Hold for 10 seconds
Tip: Only introduce this exercise when specifically advised by your physiotherapist.

More advanced resistance exercises should only be introduced when specifically advised by your physiotherapist.

Walking and stairs

Walking with confidence

Practise indoors before you increase outdoor walking. Look ahead rather than at the floor — it helps your posture and balance.

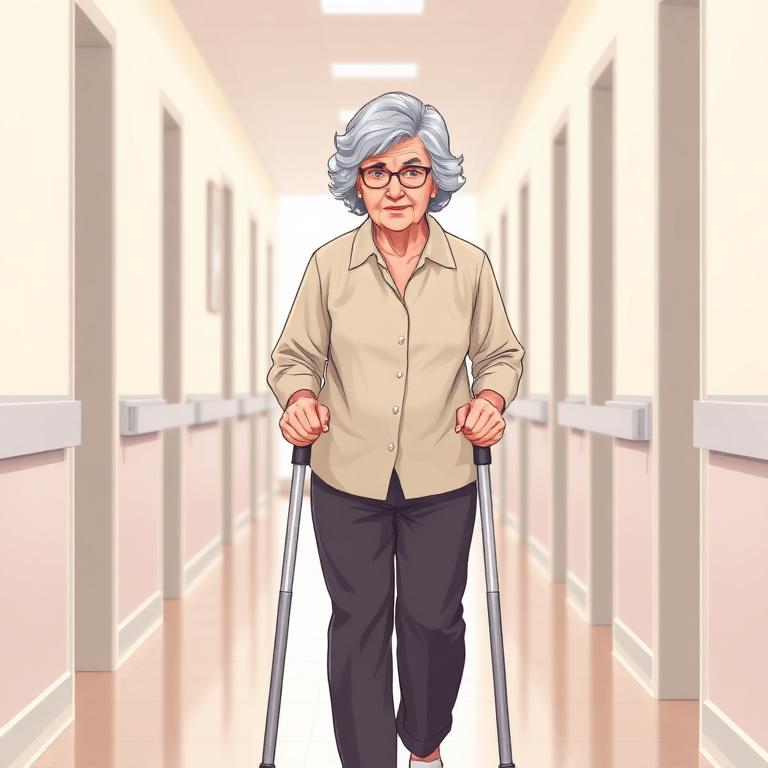
Walking with two crutches

Walking with two crutches

  1. 1.Place both crutches a short distance in front of you.
  2. 2.Step forward with the operated leg.
  3. 3.Take weight through the crutches as needed.
  4. 4.Bring the unoperated leg through.
Safety: Keep the crutches wide enough that you do not catch your feet, and look ahead rather than at the floor.
Usual pattern for the first 1–2 weeks after surgery.
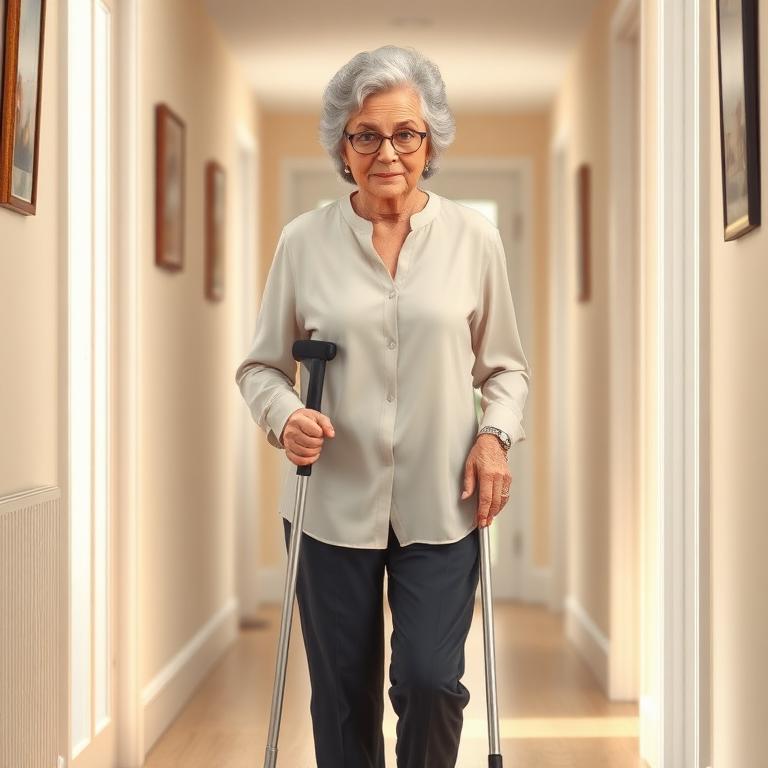
Walking with one crutch

Walking with one crutch

  1. 1.Hold the crutch in the hand opposite the operated leg.
  2. 2.Move the crutch and operated leg forward together.
  3. 3.Step through with the unoperated leg.
Safety: Only progress when your physiotherapist advises. It is better to walk well with an aid than to limp without one.
Often introduced around weeks 2–4, guided by strength and balance.
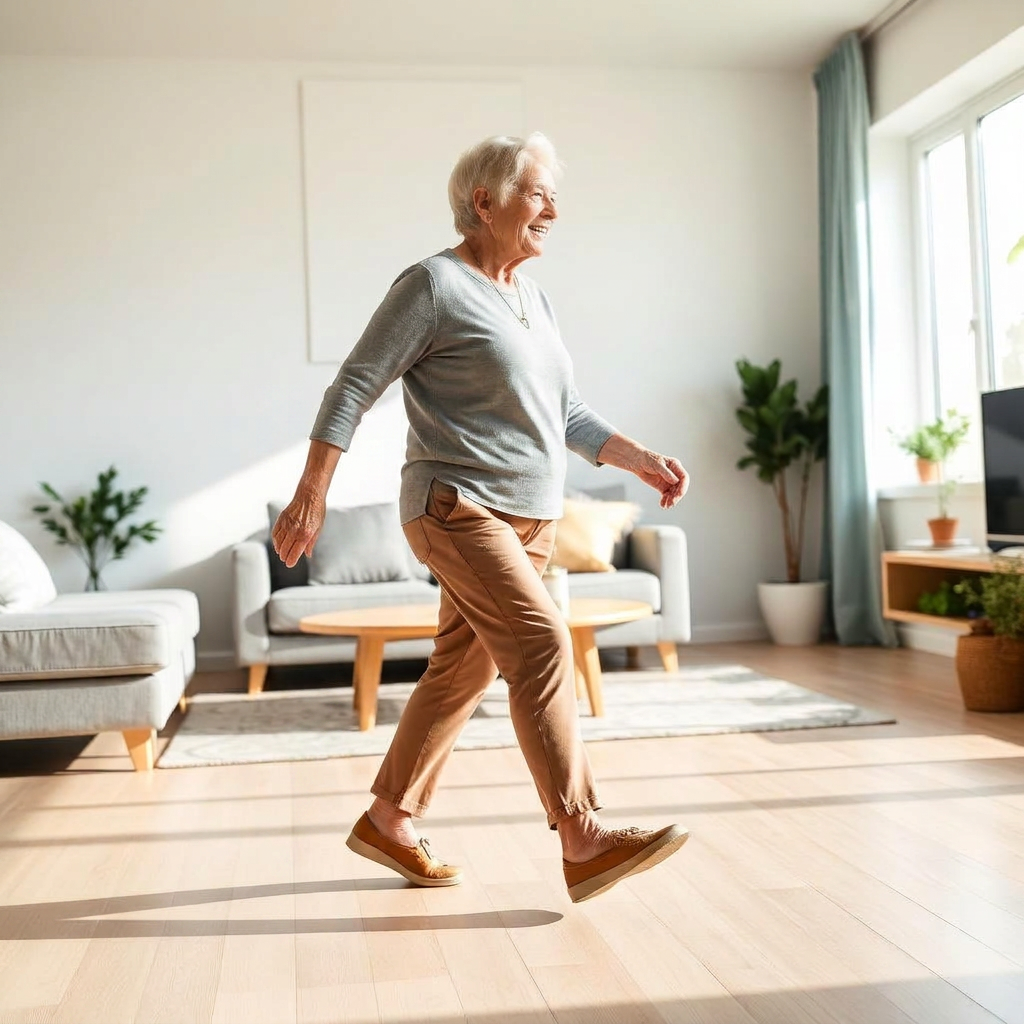
Walking independently

Walking independently

  1. 1.Stand tall with weight evenly through both legs.
  2. 2.Take equal steps with each leg.
  3. 3.Try to swing the arms naturally.
Safety: Return to a walking aid temporarily if pain, swelling or fatigue increase.
Usually possible from weeks 4–6, but timing varies.
Going upstairs

Going upstairs

  1. 1.Hold the handrail.
  2. 2.Step up with the unoperated leg first.
  3. 3.Bring the operated leg to the same step.
  4. 4.Bring the crutch up last.
Safety: Up with the good leg first. Only practise stairs after your physio has shown you how.
Practise with a physio before discharge if you have stairs at home.
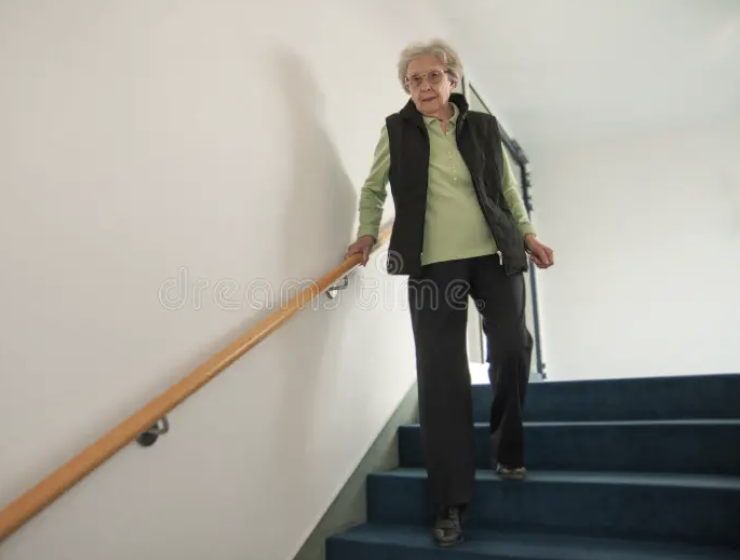
Going downstairs

Going downstairs

  1. 1.Hold the handrail.
  2. 2.Place the crutch onto the lower step.
  3. 3.Step down with the operated leg.
  4. 4.Bring the unoperated leg to the same step.
Safety: Down with the crutch and operated leg first. Take one step at a time.
Speed and confidence build over the first several weeks.
Swelling management

Controlling swelling

Small, repeated actions make the biggest difference. Elevation, cooling and gentle movement all work together.

Elevation

Support the whole leg so the foot is elevated above hip level. Avoid placing a pillow only behind the knee for long periods.

Ice therapy

Use a cold pack or hospital-provided cooling cuff. Protect the skin, follow the manufacturer's instructions and never sleep with ice in place.

Compression

Where advised, a compression stocking or wrap can help reduce swelling. Only use if your team recommends it.

Ankle pumps

Regular ankle pumps help circulation while resting and reduce fluid pooling in the lower leg.

Rest and balance

Balance gentle activity with periods of rest and elevation. Increasing swelling after activity is a sign to ease back briefly.

Seek advice if…

New calf pain, one-sided calf swelling, marked redness, hot skin or breathlessness — contact your team promptly.

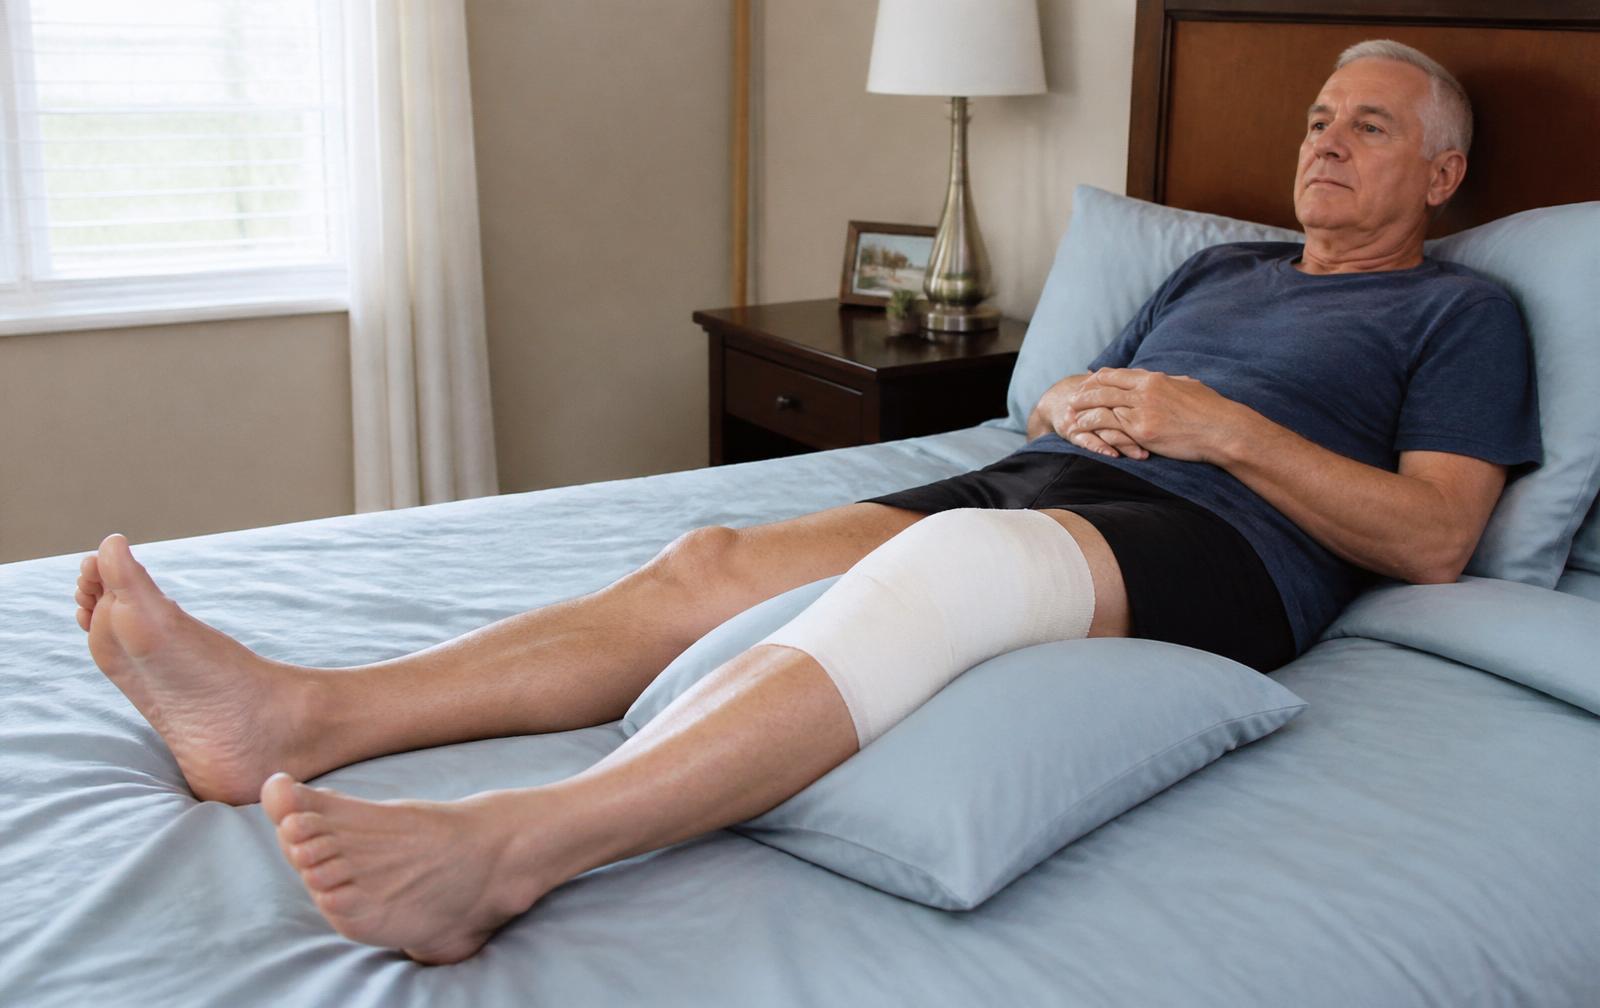
Resting positions

Rest well, recover well

Sleep disturbance is common. Change position when needed and use pillows without leaving the knee bent for long periods.

Heel supported

Rest your heel on a rolled towel with the knee unsupported and straight. This encourages full extension (straightening).

Leg elevated

Support the whole leg on cushions so the foot is higher than the hip. This reduces swelling.

Knee bent (sitting)

Sit with the foot on the floor and the knee comfortably bent. This helps improve flexion.

A calm bright bedroom

Sleep principles

  • Choose a comfortable position
  • Change position when needed
  • Use pillows to support comfort without keeping the knee permanently bent
  • Avoid leaving a pillow directly under the knee for prolonged periods
  • Use prescribed pain relief before bed if instructed
  • Maintain a regular sleep routine where possible
Wound care

Caring for your wound

Follow the specific dressing and bathing instructions given by your own hospital.

A clean surgical dressing

Dressing and healing

  • Keep the dressing clean and dry according to local instructions
  • Do not remove or replace it unless advised
  • Do not apply creams, oils or powders to the wound unless approved
  • Follow the hospital's advice about bathing and showering
  • Attend the planned wound review or dressing appointment
  • Report increasing redness, discharge, wound opening or fever
Warning signs

When should I seek help?

Use the contact details supplied by your own hospital. This page does not replace clinical assessment.

Call emergency services now

  • Sudden chest pain
  • Severe shortness of breath
  • Collapse
  • Coughing blood
  • New severe weakness or neurological symptoms

Seek urgent medical advice

  • New calf pain or marked one-sided calf swelling
  • Rapidly increasing redness or heat around the wound
  • Pus or persistent wound leakage
  • Fever or feeling acutely unwell
  • Severe or rapidly worsening pain
  • Inability to bear weight after previously managing
  • A new injury or fall
  • A cold, pale or numb foot

Contact your surgical team

  • Pain not controlled by the prescribed medication
  • Persistent nausea or constipation
  • Concerns about the dressing
  • Exercises becoming progressively harder rather than easier
  • Uncertainty about medication or blood-thinning treatment
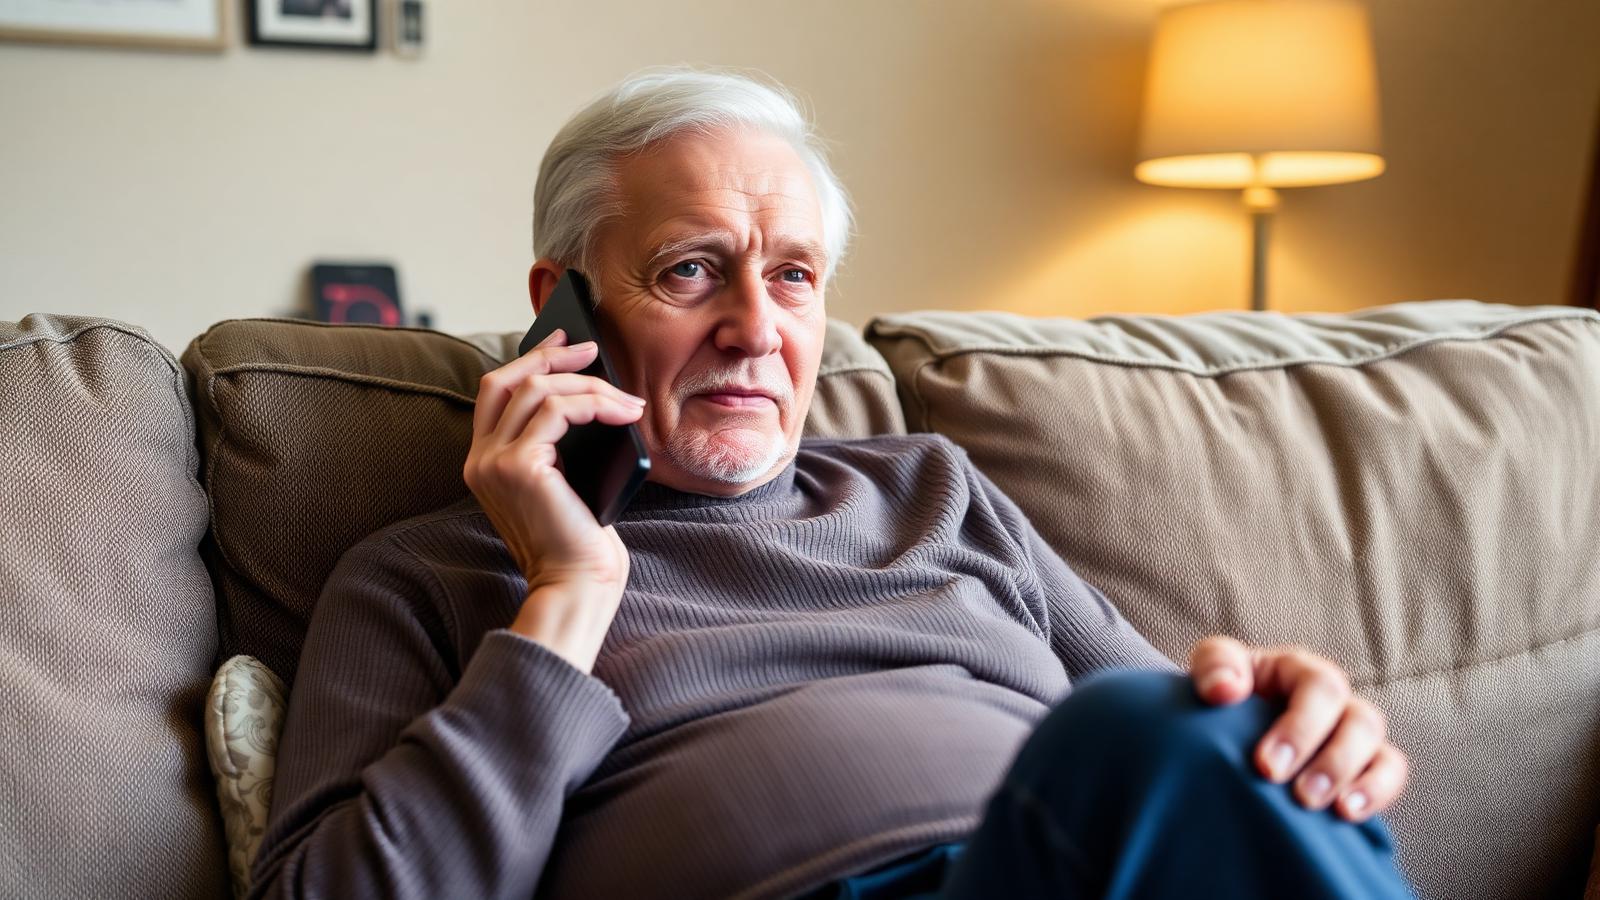
A patient at home calling their surgical team for advice
FAQs

Frequently asked questions

Honest, practical answers to the questions patients ask most in the first six weeks.

This depends on the job, your recovery and your surgeon's advice. Desk-based work may be possible sooner than work involving prolonged standing, heavy lifting or driving. Many people need several weeks away.
Your six-week recovery priorities

Focus on these six things

  • Take medicines as prescribed
  • Manage swelling with rest, ice and elevation
  • Walk little and often
  • Complete your exercises daily
  • Protect and monitor the wound
  • Ask for help when something does not feel right

Recovery after knee replacement requires patience and regular effort. Small, repeated actions — walking, exercising, resting, controlling swelling and taking medication correctly — build towards a stronger and more confident knee.